Siege Tracker breaks down R6 operator stats so you can see which picks actually win you rounds. Learn how rounds played, kills, deaths and win rate work per operator, then enter your own numbers from the in-game operator stats screen into the comparison analyzer below to rank your attackers and defenders side by side.
Reading Your Operator Stats
Practical rules for turning per-operator numbers into better picks and smarter practice.
Sample Size First
An operator with 12 rounds and a 3.0 K/D tells you very little. Wait until you have a meaningful number of rounds, ideally 50 or more, before treating an operator's K/D or win rate as a real trend rather than a hot streak.
Win Rate Matters More Than K/D
Some operators win rounds without many kills. Intel and utility picks such as Thatcher, Mira or Valkyrie can show a modest K/D but a strong round win rate. Judge each operator by the job it does for your team, not by kills alone.
Compare Within Roles
Entry attackers and roaming defenders usually post more kills per round than anchors or support players. Compare operators that share a role, such as Ash against Zofia or Jäger against Wamai, so the numbers reflect skill rather than playstyle.
Attack vs Defense
Split your pool into attackers and defenders before you compare. Defensive rounds often play out differently, so a 0.9 K/D on an anchor and a 1.2 K/D on an entry fragger can both be solid contributions to winning rounds.
Seasonal vs Lifetime
Lifetime operator stats include every balance change and the seasons you spent learning. Compare this season's numbers with your lifetime totals to see whether buffs, nerfs or your own practice changed results.
Consistent Inputs
Copy rounds, kills, deaths and wins from the same filter in-game, such as ranked only, for every operator you compare. Mixing playlists skews the table. We never ask for your Ubisoft password and nothing you enter is stored.
Operator Comparison Analyzer
Enter rounds, kills, deaths and wins for each operator you play to build a side-by-side comparison table.
Compare Your Operator Stats
Operator ComparisonRank your operators by your own numbers
Operator
Rounds
Kills
Deaths
Rounds won
K/D
Round win %
–
–
–
–
–
–
–
–
–
–
Add at least two operators with rounds played to see which one performs best for you.
Enter numbers from your in-game career or ranked stats screen. Results are calculated in your browser — nothing is saved or sent anywhere.
Core Operator Stats
Explained
The four numbers that matter most when you compare Rainbow Six Siege operators, and how to read each one.
Rounds Played & Pick Rate
Rounds played is the foundation of every other operator stat. It shows how often you pick an operator and how much data sits behind its K/D and win rate. Operator stats are counted per round, not per match, because you can switch operators between rounds. That is why your operator totals look smaller than your overall match numbers.
Use rounds played to filter your comparison. An operator you have played for 300 rounds gives a stable picture; one with 15 rounds is still a guess. When the analyzer table shows two operators with similar win rates, trust the one with more rounds behind it. Rounds played also reveals habits: if most of your defense rounds are on one or two operators, expanding your pool can make you harder to counter and more useful when your main is banned.
K/D Ratio per Operator
Operator K/D is kills divided by deaths for the rounds you played on that operator. It shows how well you survive and win gunfights with a specific loadout and gadget. Because each round gives you only one life, a K/D of 1.0 on an operator means you get roughly one kill for every round in which you die.
Read operator K/D in context. Fraggers with strong primary weapons usually have higher K/D than utility operators who spend the round placing gadgets or gathering intel. A low K/D on a support operator is not automatically a problem if your win rate on that operator is healthy. A low K/D on an entry fragger, on the other hand, often means you are taking fights without drone support or a teammate ready to refrag, which is worth fixing before you blame the operator.
Operator Win Rate
Operator win rate is rounds won divided by rounds played on that operator, times 100. It is the closest measure of whether an operator helps your team, because it rewards utility, intel and objective play as well as kills. Treat it as a team-influenced stat: a strong squad lifts every operator's win rate, so compare operators against each other rather than against other players.
Kills per Round & Impact
Kills per round divides kills by rounds played and shows how often an operator gives you real impact. Combined with K/D and win rate, it helps you sort your pool into roles: high kills per round with a solid win rate marks a natural entry or roamer pick, while low kills with a high win rate marks an operator that wins through utility. Use the comparison table to spot operators that score low on all three and decide whether they need practice or a place on the bench.
Using Operator Stats to Build a Smarter Operator Pool
Operator stats become truly useful when you stop reading them one operator at a time and start using them to shape your whole pool. This section shows you how to audit your operators, read numbers through the lens of role, side and map, and react sensibly to bans and balance patches.
Any figures below are labelled examples. Your own numbers come from the in-game operator stats screen, entered with the same filter for every operator.
In this guide
Building an Operator Pool From Operator Stats
A good operator pool covers the jobs your team needs, survives bans, and leans on the picks where your numbers are strongest. Operator stats help with the last part, but the first two still matter.
Two or three per role. On attack, aim for options in entry, hard breach, intel and support. On defense, cover anchor, roam, intel and anti-entry utility.
A main and a backup. For each role you play, keep one operator you trust and a second you can switch to when the first is banned or taken.
Let data break ties. When two operators do the same job, your operator stats tell you which one actually wins you more rounds.
Keep a learning slot. Leave room for one operator you are still practising, so a low early sample does not push it out too soon.
The aim is a pool that is both flexible and evidence-based, not a list of operators you simply enjoy most.
A Step-by-Step Operator Stats Audit
Once a season, run a quick audit of your operator stats. It takes about twenty minutes and gives you a clear plan.
Pick one filter. Use ranked for the current season, or another single playlist, for every operator.
Copy four numbers per operator. Rounds played, rounds won, kills and deaths.
Set a minimum sample. Set aside operators below your rounds threshold as “not enough data yet”.
Group by side and role. Never rank an anchor against an entry fragger.
Compare against your own average. Work out your overall round win rate for that side and flag operators clearly above or below it.
Decide. Keep, practise, or bench each operator.
The Stat Analyzer can give you your overall baseline, and the comparison analyzer on this page lines operators up side by side. Write the decisions down so next season’s audit has something to check against.
Operator stats work best when you read several metrics together.
Role-Based Interpretation Bands for Operator Performance
There is no official benchmark for operator performance, and population averages depend on rank and season. A fairer approach is to judge each operator against your own side average, using the job the operator does. These bands are interpretation aids, not targets.
Role
Healthy sign
Warning sign
Entry or roamer
Kills per round and K/D above your side average
Low K/D and low win rate together
Hard breach or support
Win rate at or above your average, even with a modest K/D
Win rate well below your average
Intel
Win rate above average, few early deaths
High deaths, little round impact
Anchor
Steady win rate and K/D near your average
Frequent early deaths off site
Use your own history as the reference line. A support operator that matches your average win rate is doing its job, even if its kill numbers look quiet.
Attack vs Defense Operator Stats Splits
Attack and defense are different games, so your R6 operator stats should always be split by side before you compare anything. The useful question is not “which side is better” but “which operators beat my average for their side”.
Example only. Say you won 140 of 300 attack rounds, a 46.7% round win rate, and 160 of 280 defense rounds, 57.1%. An attacker on 50% is beating your attack baseline. A defender on 53% is below your defense baseline, even though 53 is the higher number.
Check side balance. If one side lags far behind the other, your attack or defense pool may need more depth, not a new main.
Look at deaths on defense. Early deaths on defenders often point to over-roaming or holding exposed angles.
Look at kills per round on attack. Low numbers on entry operators can mean you are entering without drone or utility support.
Rank your operators within each role and side, not across them.
How Maps Change Your R6 Operator Stats
Operators do not perform in a vacuum. The map shapes which gadgets matter, which angles you hold and how long fights last, so the same operator can look strong on one map and weak on another.
Hard breach demand varies. Some sites depend heavily on breaching reinforced walls, so breachers may look more valuable on those maps.
Sightlines shape weapons. Long corridors and open areas reward operators with stable, accurate primaries. Tight interiors reward close-range options.
Site layout shapes defense. Multi-floor sites and vertical play change how useful anchors, roamers and intel operators are.
If your in-game screen does not split operator stats by map, keep a simple log of map, operator and round result after each session. Even a few weeks of notes can show patterns, such as an operator you should only pick on certain maps.
See our R6 map stats guide for how to track map results alongside your operators.
Reading Bans and Picks in Your Operator Stats
Ranked matches include an operator ban phase, so your favourite operator will not always be available. That makes depth part of your operator performance, and your numbers can show whether you have it.
Watch for a cliff. If your win rate on your main is strong but drops sharply on every alternative for that role, a ban on your main costs you a lot.
Build the backup deliberately. Give your second-choice operator steady practice rounds so its sample grows before you need it.
Notice forced picks. Rounds where you took an operator only because others were banned or picked can drag its numbers down. Note them if you keep a log.
Avoid duplicates. If your two best operators in a role share the same strengths, a single ban or a teammate’s pick removes both options.
Bans and team picks change from match to match, so read them as a reason to broaden your pool, not as fixed rules about which operators are good.
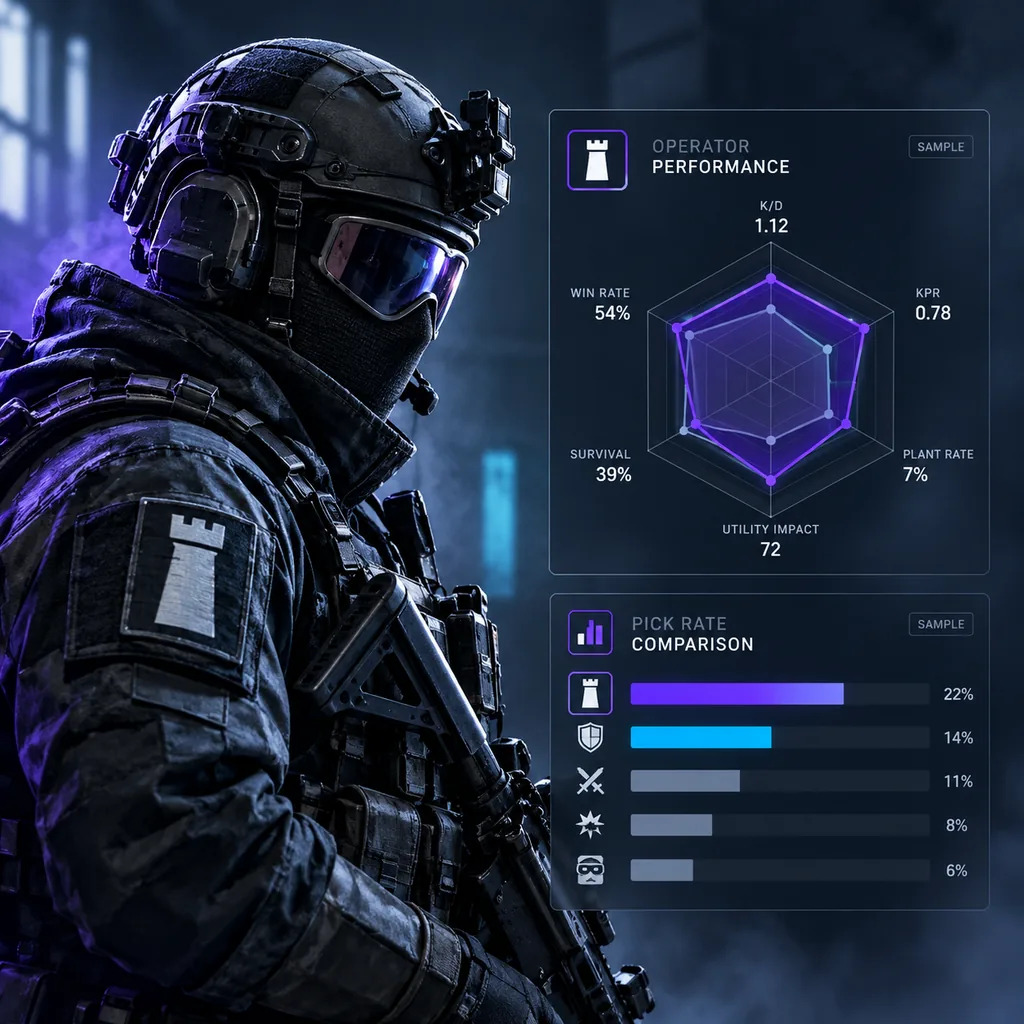
A performance radar shows where an operator helps and where it struggles.
Patch Changes and Operator Performance
Balance patches regularly adjust weapons, gadgets and operator abilities. A buff or nerf can shift your operator stats overnight, which makes it hard to tell whether a change in your numbers is about you or about the patch.
Note the patch date. When an operator you play is changed, write down the date and your current numbers for that operator.
Start a fresh sample. Track rounds after the patch separately from rounds before it.
Wait for enough rounds. Judge the change only once the new sample is large enough to trust.
Compare like with like. Use the same playlist filter before and after.
Read the official patch notes on the Rainbow Six Siege site so you know exactly what changed. If an operator’s numbers drop right after a nerf to their weapon, the patch is the likely cause, and it may be time to promote your backup.
Tracking Operator Stats Across a Season
A single snapshot of operator stats shows where you stand. A season of snapshots shows which operators are improving. A simple tracking routine is enough.
Snapshot schedule. Record numbers at the start of the season, then every two to four weeks.
Columns to keep. Date, operator, side, rounds played, rounds won, kills and deaths. Add map and patch if you want more detail.
Subtract to get periods. Take the earlier totals away from the later ones to see each period on its own.
Watch three lines. Round win rate, K/D and kills per round for your top operators on each side.
For your overall numbers, the Siege Tracker season tracker saves snapshots in your own browser. Our R6 seasonal stats guide explains why one season at a time gives the cleanest comparison. By the end of a season, you will know which operators earned their place.
Small samples spread widely, so give every operator enough rounds.
Comparing Operators With Very Different Round Counts
The trickiest operator performance comparison is between an operator you play constantly and one you pick only now and then. Small samples swing much harder.
Example only. Operator A has 24 wins from 40 rounds, a 60% win rate. Operator B has 119 wins from 220 rounds, about 54%. A looks better. But if A loses its next five rounds, it falls to 24 out of 45, about 53%. The same five losses take B to 119 out of 225, about 53% as well, a much smaller move from where it started.
The lesson is that A’s lead is fragile while B’s level is well established.
Treat a high number on a small sample as promising, not proven.
Give promising operators more rounds before promoting them.
When two operators are close, trust the one with the bigger sample.
Turning Operator Stats Into a Practice Plan
Numbers only help if they change what you do next. Once your audit is done, turn your operator stats into a short practice plan for the coming weeks.
One operator per side. Choose a single attacker and a single defender to focus on, usually a backup that needs a bigger sample or a main whose numbers have slipped.
A goal tied to the role. For an entry operator, aim to die less often before your team gets value from your entry. For an anchor, aim to survive into the late round more often.
Warm up with intent. Use custom games to learn gadget placements and common angles before you take the operator into ranked.
Check the result. After your next snapshot, compare that operator’s win rate and K/D with the period before. The K/D and win rate calculator handles the maths in seconds.
Keep the plan small. Improving operator performance on two picks at a time is far easier to measure than trying to fix your whole pool at once.
Common Operator Stats Mistakes to Avoid
Most bad decisions based on operator stats come from a handful of repeat errors.
Ranking by K/D alone. It buries utility and intel operators that quietly win rounds.
Mixing playlists. Casual and ranked rounds tell different stories. Keep them apart.
Comparing across roles. An anchor and an entry fragger do different jobs and should not be ranked against each other.
Ignoring side. Compare attackers to your attack baseline and defenders to your defense baseline.
Copying someone else’s pool. Lists like our best R6 operators by stats are a starting point, but your own operator stats decide what works for you.
Overreacting to patches. Wait for a fresh sample before benching a main.
Never benching anyone. Low numbers on every metric over a big sample are a clear signal to move on.
Avoid these and your operator pool will reflect how you actually win rounds.